Parse.comを使ったPush Notificationの実装についての解説はかなり豊富なので、今さら感があると思いますが正直、実装しきるまでに少しハマったので今後のために忘備録デス!
「アルバイトを10秒で探せるiPhone/Androidアプリ Short.Works」の開発でも活用させていただいています!
👽 Parse.comにユーザー登録、アプリケーションも登録
Parse.comでユーザー登録。
ユーザー登録が完了したら、アプリケーションの登録をしてください。
🎳 Push NotificationのチュートリアルにしたがってSDKをプロジェクトに導入
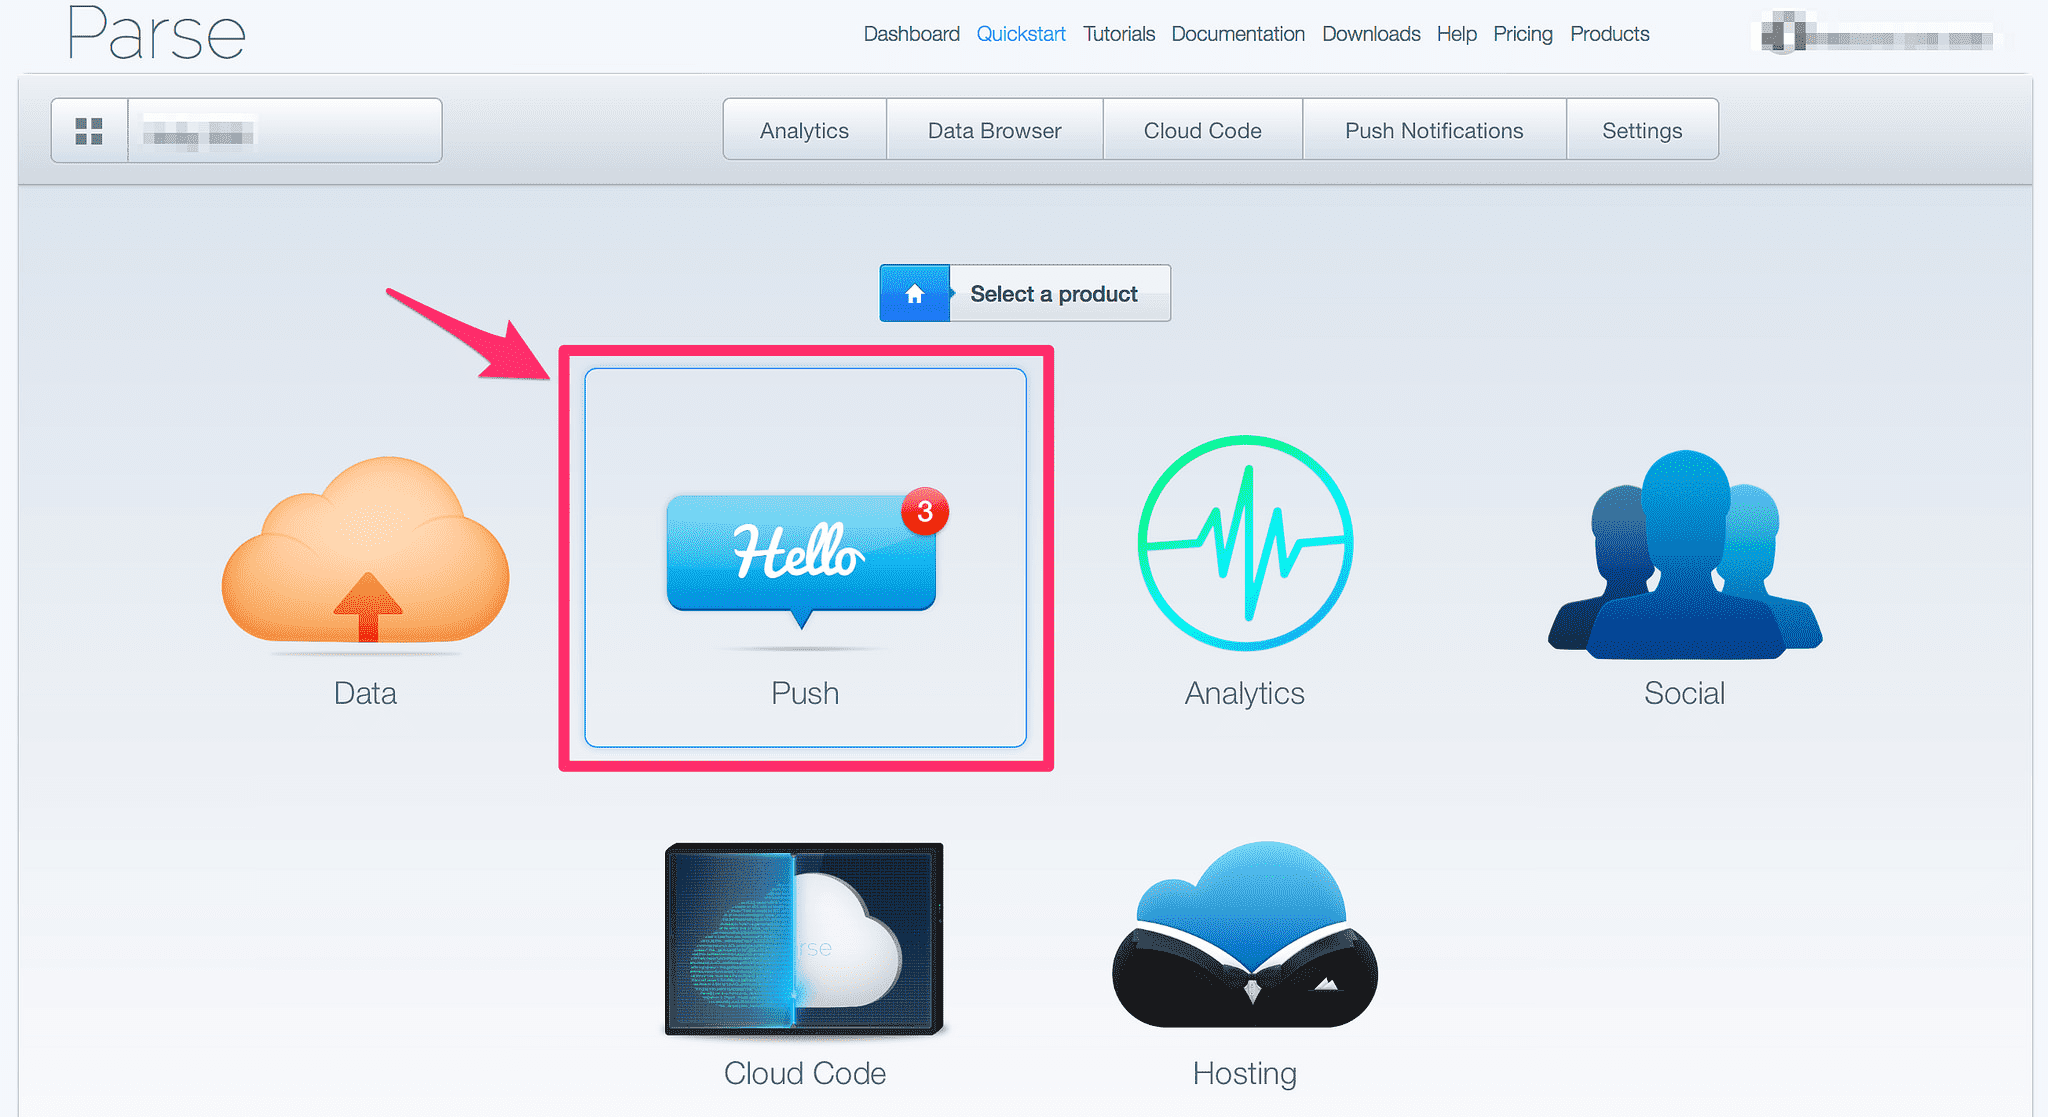
アプリケーションを登録していくと、「Push Notification」を新規・既存アプリケーションに組み込む方法が出ます。

今回は既存アプリケーションに組み込んでいきます。
まずは上に書かれている記述に従ってアプリケーションにSDKを組み込んでいきます。
🍮 追加ライブラリの導入
ひととおり完了したら、次にライブラリを追加します。
* Social.framework
* Accounts.framework
さらにFacebookのSDKも次のチュートリアルにしたがって導入。
Getting Started with the Facebook iOS SDK
😼 Push Notificationのための証明書系の設定
ここが一番きつい、証明書系の設定です。Parse.comの一番すごいところはこういったドキュメントが充実している点です! めっちゃありがたい!
iOS Push Notifications | Parse
🐡 サーバ側からPush Notificationを実装する場合のコード
サーバサイドからPush Notificationを行うためには、Channelをうまく設定する必要があります。
ということで、こんな感じで僕は実装しました!
- (void)application:(UIApplication *)application |
これはあくまで一例です。大切なことは、Push Notificationの送付先を一意にするために、ChannelIdを適切に設定しておくといい気がしています。
😸 サーバ側からRubyコードでPush Notification
ここからはサーバサイドからPush Notificationをする方法です。
まずは、『parse-ruby-client』というGemをbundle installします。
PARSE_COM_APPLICATION_ID = xxx # parse.comのアプリページ => Settings => Application KeysのApplication ID |
これで「test message」がiOSデバイスに送付されます!
🎉 Push Notificationの設定サンプル
REST APIをcurlで取得するサンプルが多数掲載されているので良かったらぜひ覗いてみてください。
Push Notification Guide - Parse.com
🍣 Push Notificationの初期表示を再度表示する方法
Push Notificationを含むアプリケーションは最初にユーザーに許可を求めるダイアログが一度だけ表示されます。
そのダイアログを再表示する方法があったのでメモです。
1) アプリをデバイスから削除
2) ディバイスを再起動
3) 設定 > 一般 > 日時設定から日付を1日以上進める
4) ディバイスを再起動
5) アプリを再インストール
🎃 参考リンク
Parse.comのREST APIを使ったPush通知 - 株式会社CFlatの明後日スタイルのブログ
ios - Parse Twitter SDK - Stack Overflow
deviceToken(NSData型)をNSString型に変換する際 - hachinoBlog


